
A sapio365 App session is offered to users who wish to use an application to connect to Microsoft 365 instead of their user credentials.
Why use an App session in sapio365?
-
An App session won’t need any MFA or to enter a password to run since it will use the application’s secret key to authenticate.
-
This can be useful in strict environment, where MFA has to be provided each time you launch sapio365, forbidding you to set any scheduled Jobs.
Requirements to create and use a sapio365 App session
-
You must be assigned the sapio365 access role Access App sessions.
-
Your tenant must allow creating a registered application that uses a client secret for authentication.
-
Admin consent must be granted to the permissions required by this registered application.
‘Access App sessions’ sapio365 role is required
For security reasons, an App session can only be seen and used by users who have the sapio365 ‘Access App sessions’ role assigned.
Learn how to assign this role.
-
By default, no one can create, see or use any App session, not even those with a Microsoft 365 global admin role or a sapio365 General Manager role.
-
To set a sapio365 Access App sessions role, you must have a Microsoft 365 global admin role or a sapio365 General Manager role.
-
Creating a sapio365 App session creates a custom-named registered application in your tenant. You can add or remove permissions for this registered app in Azure Active Directory.
PowerShell-based features in App session
Creating the registered app configures it to use secret-based authentication by default, which means PowerShell-based features in sapio365, such as loading MFA Info and Mailbox Info, are not available in an App session.
However, you can still use these PowerShell features without signing in by switching the app from secret to certificate authentication and enabling Online Exchange PowerShell in the app configuration.
You can make these changes right after creating the app or update the configuration later.
App Session versus User Session
|
Adds sapio365 app to your list of enterprise applications: Ytria sapio365 - with Admin Consent. |
This option is offered to sapio365 users who wish to use an application to connect to Microsoft instead of their user credentials. |
|
Requires “Admin Consent” to the app’s permissions. |
Creation is possible only in a qualified User Session. |
|
Includes option to elevate privileges to maximize access to data including content of all mailboxes and SharePoint Online sites.
|
Requires global admin Microsoft 365 role or a sapio365 General Manager role, and a sapio365 Access App sessions role. |
|
Required for Partner Access connection to customer tenants (for Managed Service Providers). |
Creates a custom-named registered application in your tenant.
|
|
Required to use with an assigned sapio365 RBAC role. |
Certain sapio365 features are not supported in an App session due to lack of Microsoft Graph API support. This includes:
sapio365 features using PowerShell can be used without signing in if switching from secret to certificate authentication and enabling Online Exchange PowerShell in the app configuration. |
Create an App session
-
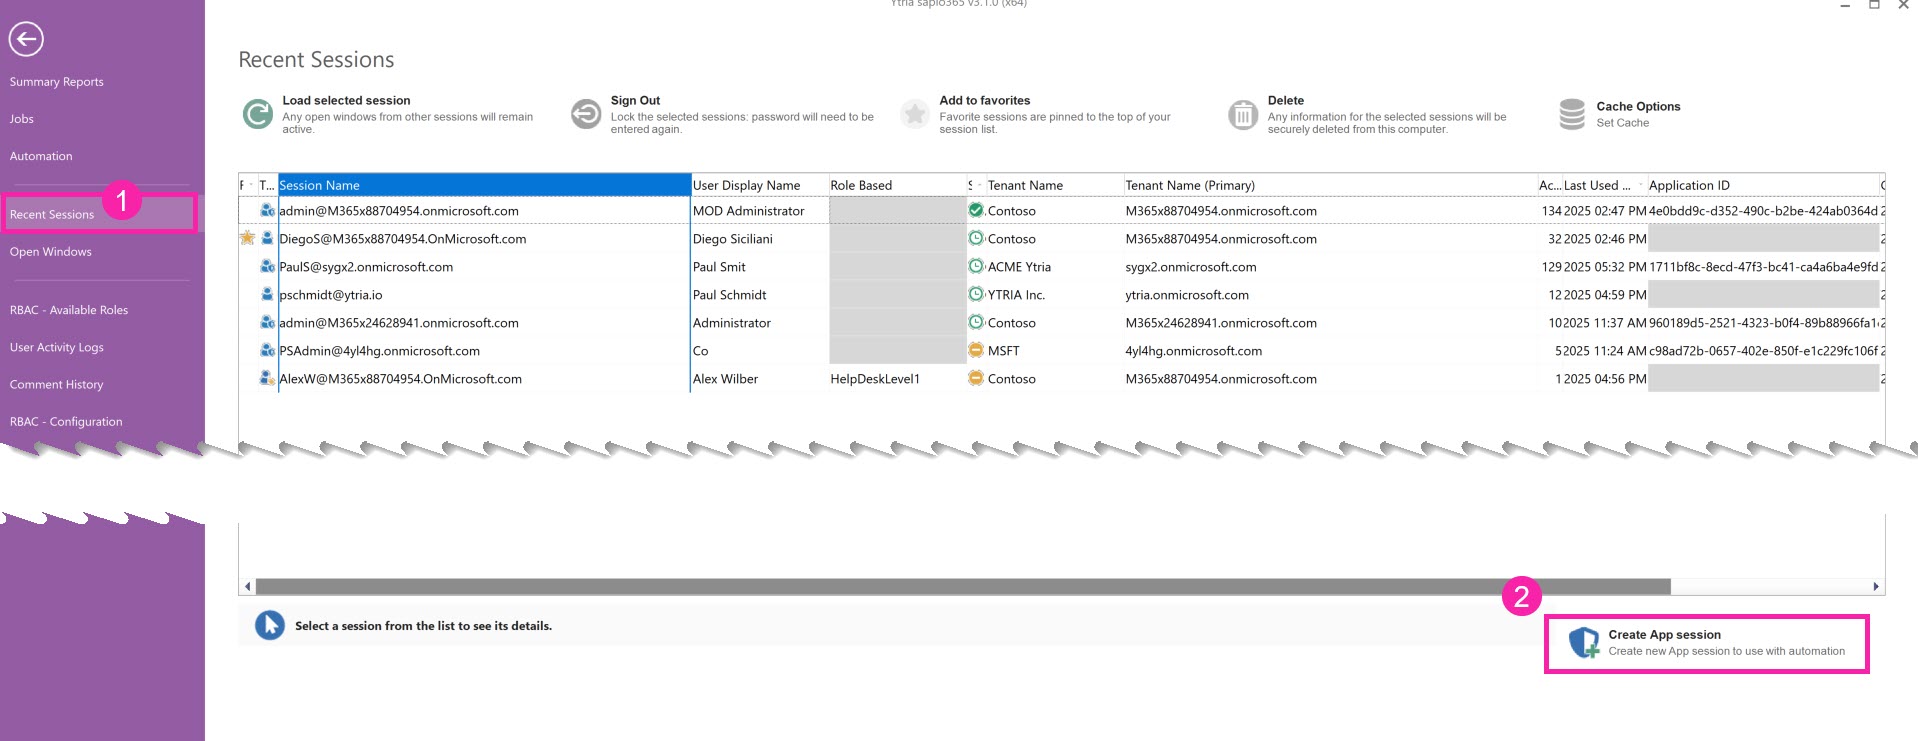
From the Dashboard, click RBAC submenu item ‘sapio365 Access & Restrictions’.
-
Click on ‘Recent Sessions’ , then “Create App Session” and follow the prompts. See step-by-step instructions below.
Set on-premises parameters (OPTIONAL)
If your tenant has a hybrid Active Directory, you can enable on-premises access by setting custom on-prem parameters for your App Session.
Editing an App Session and managing on-premises parameters are available only in a User Session of someone who is allowed to create App Sessions.
For security purposes, App Sessions cannot be edited while in an App Session.
-
From the Dashboard, click RBAC submenu item ‘sapio365 Access & Restrictions’. Choose “Recent Sessions” on the left panel. From the list, select the App Session you want to edit.
-
Click on submenu item ‘App session on-prem settings’ to enable on-prem data access, and fill in custom parameters if needed.
