
From version 20 onward, Ytria no longer provides installation databases for single products. Use the EZ Suite installation database to handle all installation needs.
The instructions below apply to older versions of EZ Suite applications.
While it's often more convenient for users to install our software with the Ytria EZ Suite database (and even if you only purchase one tool, you'll be able to use the free versions of all the others), we do provide individual product installers for those who prefer smaller downloads.
Install a Ytria EZ Suite tool
1 - Download: To begin your download, click on a product download link and save the .zip file to your computer. All Ytria's software installer files are available on the download page of our website.
2 - Unzip: Unzip the [productname].zip file you just downloaded, which will unzip the [productname].nsf file to a folder of your choice. It's strongly recommended that you use your local Notes Data directory.
Important for designPropEZ and signEZ
After installation, you can delete the .nsf files for all Ytria software except for signEZ and designPropEZ. The signEZ database is used to keep signatures and logs and the designPropEZ database is used for updating design element properties across multiple databases. If these tools were installed using the EZ Suite Installer the YtriaEZsuite.nsf file serves as the database for both designPropEZ and signEZ and thus should not be deleted if you'd like to use those tools.
For all other tools, you may delete their respective .nsf files after they have been properly installed.
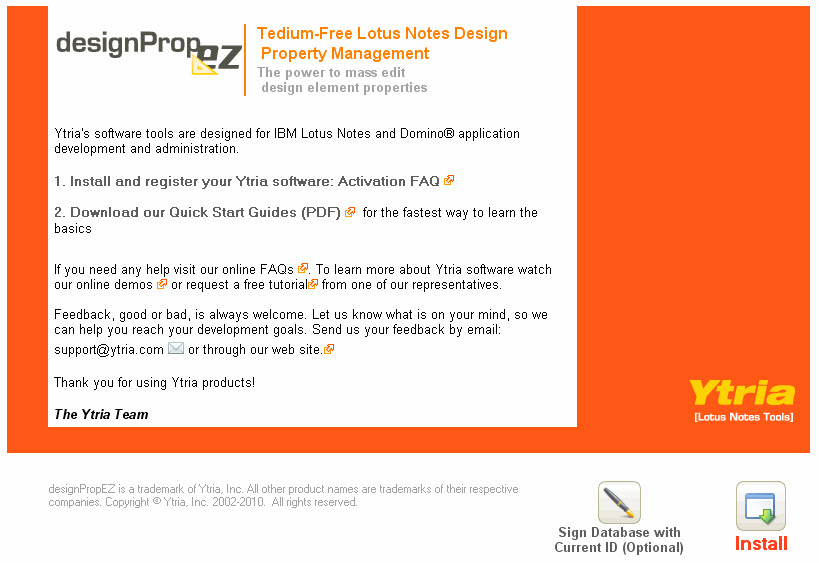
3 - Open database: In your Notes client open the [productname].nsf database. In the About screen that appears, click the Install button and follow the onscreen instructions to install your Ytria software.
4 - Read the agreement and check I agree... then click OK.

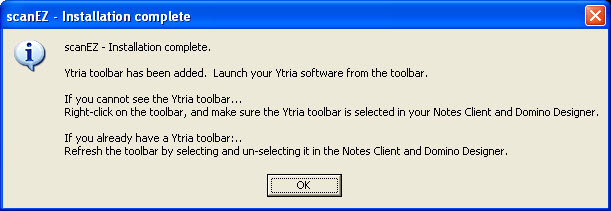
5 - When installation is complete click OK.
6 - Run the software from the toolbar buttons. To make it visible go to: File > Preferences > Toolbar preferences > Toolbars Tab and select the Ytria toolbar. Refresh the toolbar if it does not appear. If you still cannot see it, follow the troubleshooting steps on this page to create it manually.
Buttons look like this: ![]()
![]()
![]()
![]()
![]()
7 - Register: Register your software and enter the license key that we will send to you by email (valid email address required during registration, otherwise you will not receive your free key!)
Additional Installation Tips
*It is more convenient to start with a "fresh" Notes client. After opening your Notes client, (without doing anything else) proceed directly to the [productname].nsf database, open it, and then click the "Begin Installation" button. The reason is that if you have been using any Ytria products during a session, certain .dll files are loaded into memory which cannot be written over during an installation. By not using any tools during a session, you can install all our products one after another, and then close Notes just once for the installation settings to take effect.
SmartIcon/Toolbar Tips
Lotus Notes 5 clients and lower: Close & open Notes to make your new SmartIcon available in the Universal toolbar.
Lotus Notes 6.x and higher clients: A Ytria toolbar will be created, to make it visible go to: File > Preferences > Toolbar preferences > Toolbars Tab and select the Ytria toolbar.
The Install button
Clicking this button is the most common way to install Ytria products.
Sign this database with your current ID button
If the need ever arises you can use the "Sign this database with your current ID" button to sign the database with your ID (or a general authorized ID, if installation database is on a server) to avoid all the security alerts (i.e. ECL and cross certification alerts).
Force-reinstall of all files
Normally you will not need to use this option (located in the Ytria Support submenu), and the installation process will update what needs to be updated, usually the .exe file. Selecting this option will replace any existing files with ones provided by the installation database, (even if the installing files are out of date). Keep in mind that the install process must have free access to the ndbytria.dll and scanezmulti.dll (if they are already loaded into memory), then the process cannot access the files, this can happen if you clicked a Ytria SmartIcon, or toolbar, or using the multi-selection option in scanEZ.