
sapio365 supports hybrid Microsoft 365 environments. When you create a session in sapio365 by signing into your tenant, sapio365 detects the tenant's cloud domains and the associated on-premises domain if applicable.
Follow the steps below to make sure there is a proper connection with your on-prem environment.
Multiple on-prem domains
Starting in version 4.0, you can connect your sapio365 session for a hybrid tenant to more than one on-premises domain.
To access all on-prem domain data in single unified view in sapio365, simply add a connection for each on-prem domain that your tenant syncs with.
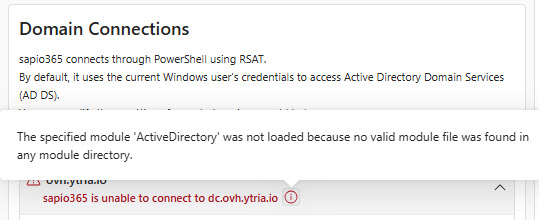
RSAT installation required
You must have RSAT installed on your machine where sapio365 is installed on (error message shown in image below).
sapio365 will use the credentials that are used to connect to the AD DS on that machine by default. You can change them in the Domain Connections section (shown as step 3).
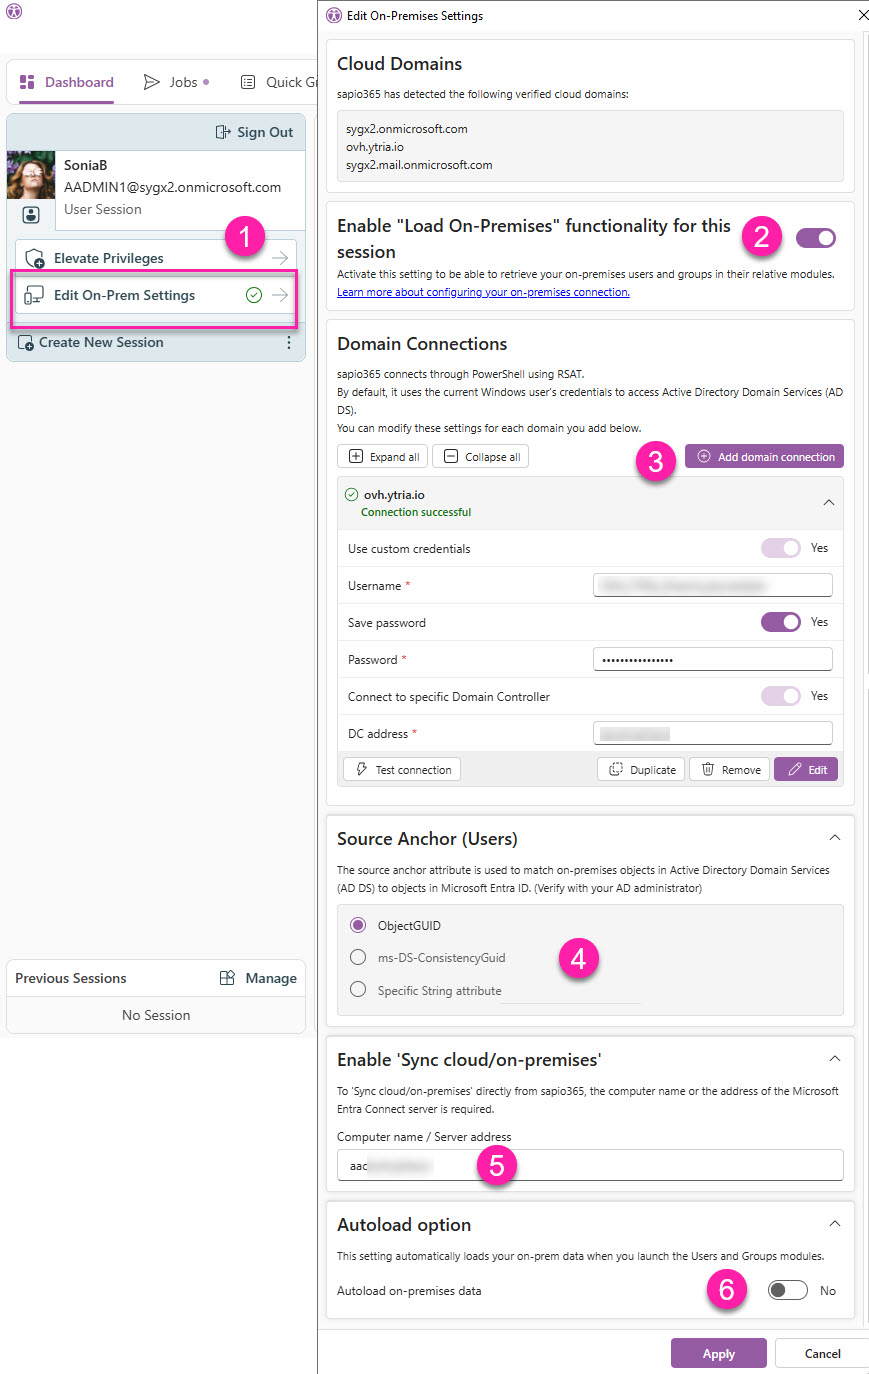
1 - Check if sapio365 is connected
In the Dashboard of sapio365, click on ‘Edit On-Prem Settings'. A green checkmark indicates that domain connections are successfully configured.
2 - Enable on-prem data retrieval
Make sure to set ‘Enable' to true in order to be able to retrieve your on-prem users and groups in their relative modules.
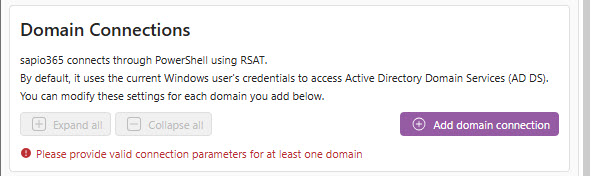
Here, you will see a list of your associated cloud and on-prem domains. If you don't see your on-prem domain or if there is an error like the one below, then go to step 3 to configure your Domain Connection.
3 - Add a Domain Connection
If your Windows credentials are not the ones you use to connect to AD DS, then click on ‘Add domain connection’ to enter your username, password, and a DC server name or address (especially if you have a remote connection).
If your tenant connects to several domains, add a new connection for each.
If you still encounter errors, please contact our support.
4 - Select the anchor attribute
The source anchor attribute is used to match on-premises objects in Active Directory Domain Services (AD DS) to objects in Microsoft Entra ID.
If you don’t use one of the first two common anchors, you can enter it by selecting the 3rd option ‘Specific String attribute’.
5 - Configure "Force Sync"
Enter the computer name of the Azure AD Connect server in order to use the 'Force sync' feature in the Users and Groups modules. Troubleshoot Force Sync error (WinRM).
6 - (Optional) Autoload on-prem data
Enabling this option automatically loads on-prem user and group data when launching the Users and Groups modules respectively.