
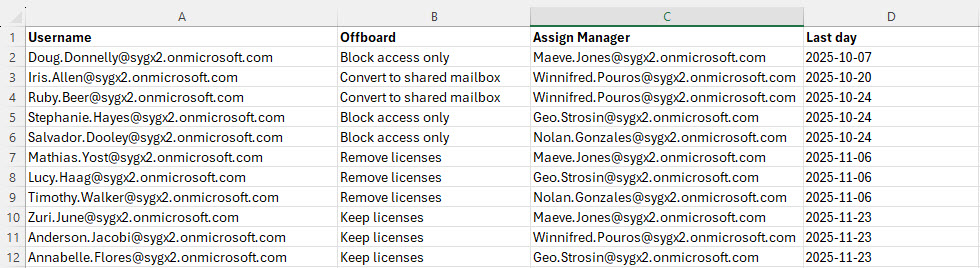
Enrich any sapio365 grid with data from an Excel or CSV file.
This could be temporary notes for yourself or any information that helps you organize your data (for batch processing for example).
-
The added columns and data are temporary. They are only available until the window is closed.
-
The added columns are NOT comments/annotations.
Add data to the grid
-
Make sure that your file contains headers. These will be imported as column titles in the grid.
-
Include a unique identifier like Username (User Principal Name) or GUID.
From the Grid Actions tab:
-
Click ‘Add data from file’ and select your file when prompted.
-
You can limit the addition of data to only the rows you have selected, or set to ‘All Rows’ if you haven’t made a selection.
If you are using a CSV file, set the separator character used (usually a comma) from the submenu list.
-
In the ‘Connect File and Grid’ section, set the mapping key by selecting the header of the matching columns in the file and in the grid.
-
Select the file columns that you want to add to the grid.

Remove all added data
Use the submenu item of ‘Add data from file’ to remove all data that was added from a file or list.
